
If you love sushi ginger, then you'll love this easy pickled ginger (gari) recipe! It uses just five simple ingredients and takes about 20 minutes of hands-on time. It's sweet, tangy, and way fresher than the store-bought kind, which often comes with preservatives and added coloring. Gari is traditionally made with young ginger, but it's hard to find (even for someone like myself who lives in NYC), so I made this recipe strictly for the regular ginger you can grab at any grocery store. That way, everyone can make it and there's really no reason for you to keep buying it!
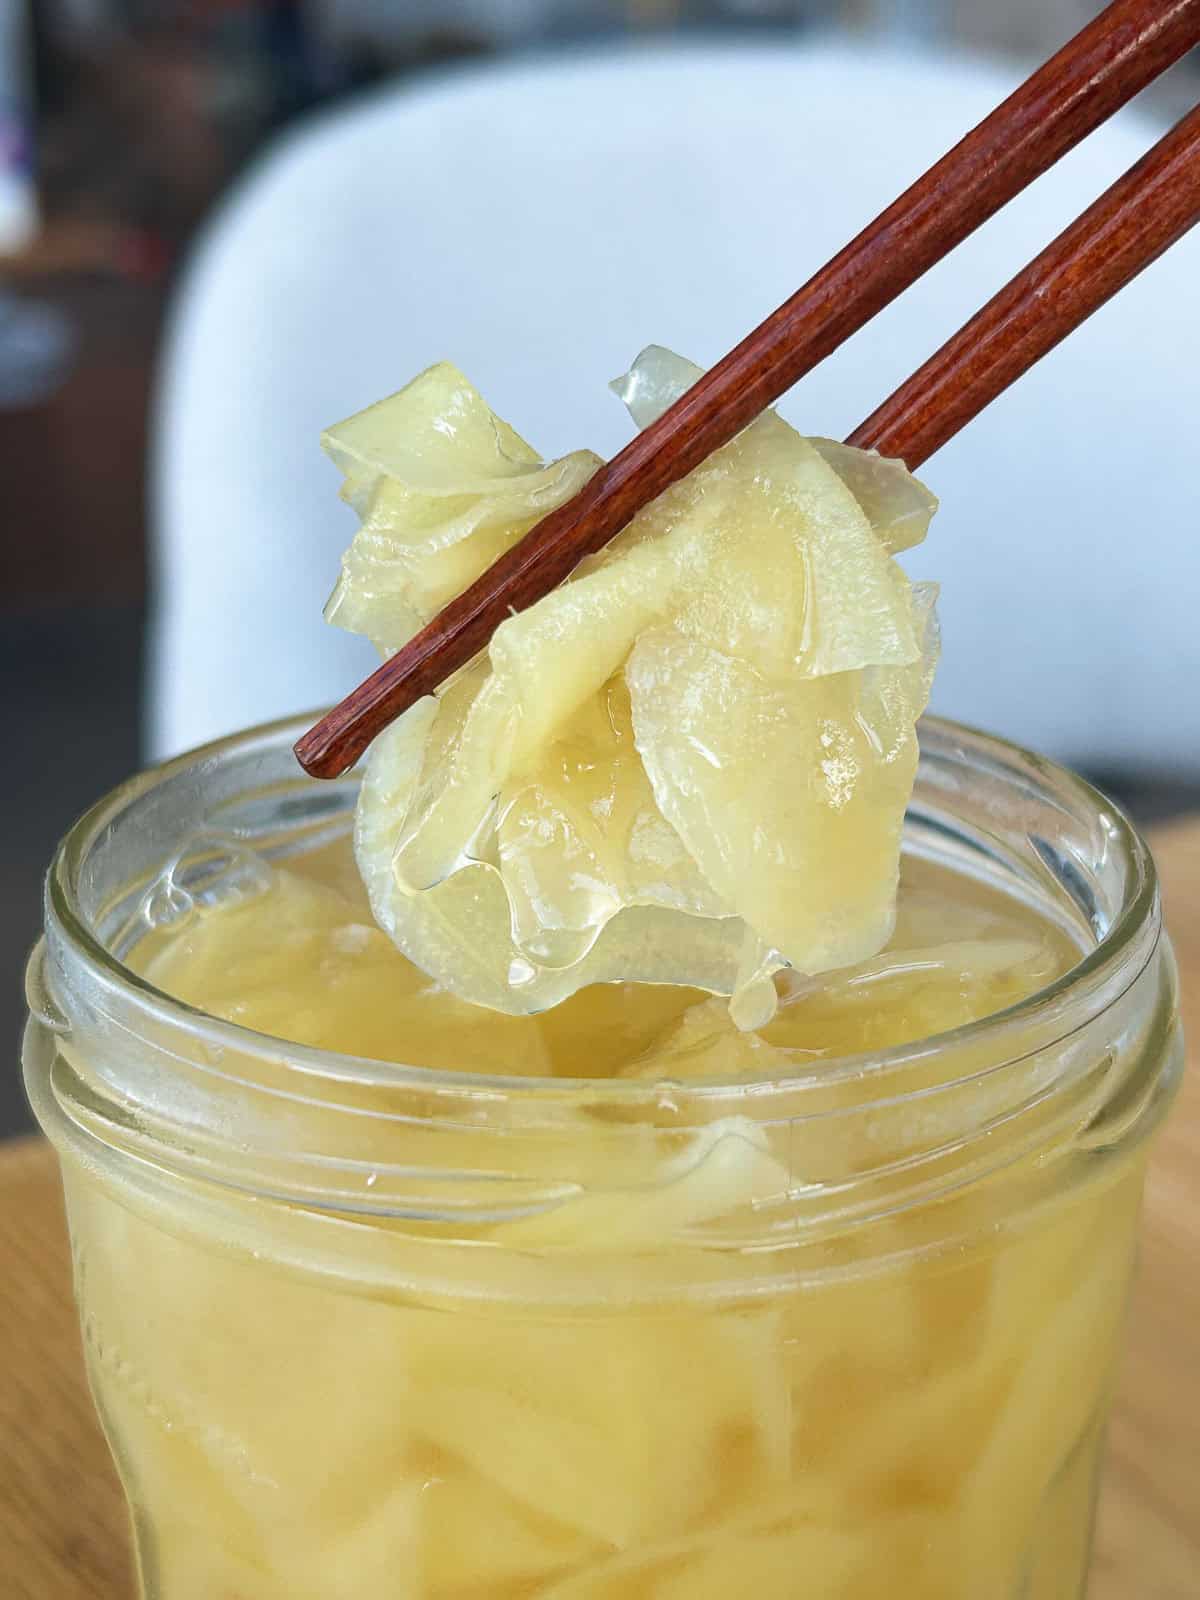
I love making this to eat in my homemade poke bowls and tinned fish bowls but this also goes great with my pho style congee and Thai basil chicken stir fry.
Why you'll love this Pickled Ginger Recipe
- It uses 6 simple ingredients - Ginger, water, rice vinegar, white vinegar, sugar, and salt. That's it.
- Tastes better than store bought - It's fresher, punchier and has none of that preservative aftertaste.
- It's customizable - Want it spicier? Blanch it for less time. Want it sweeter? Add more sugar. Adjust the brine to your taste.
- It comes together in just 15 minutes.
Jump to:
Ingredients
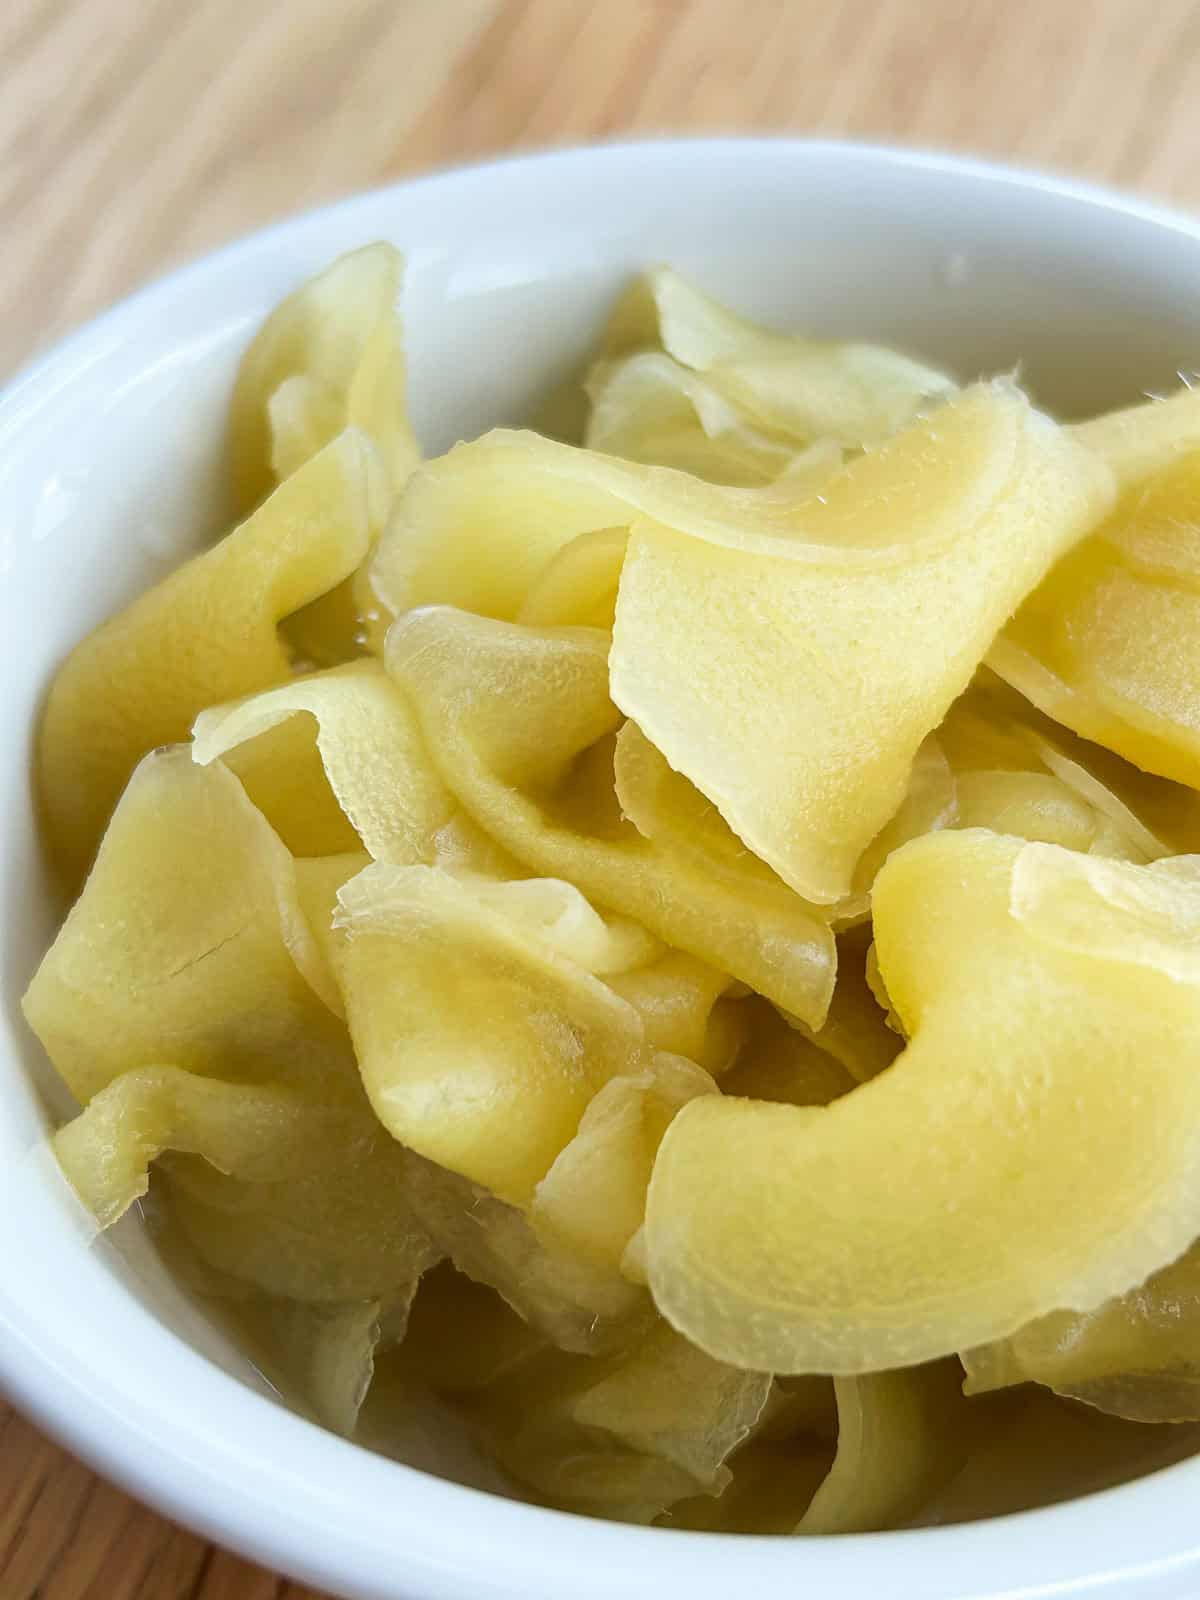
- Ginger
- Salt
- Sugar
- Rice vinegar
- White vinegar
- Water
See recipe card for quantities.
How to make Pickled Ginger (Gari)
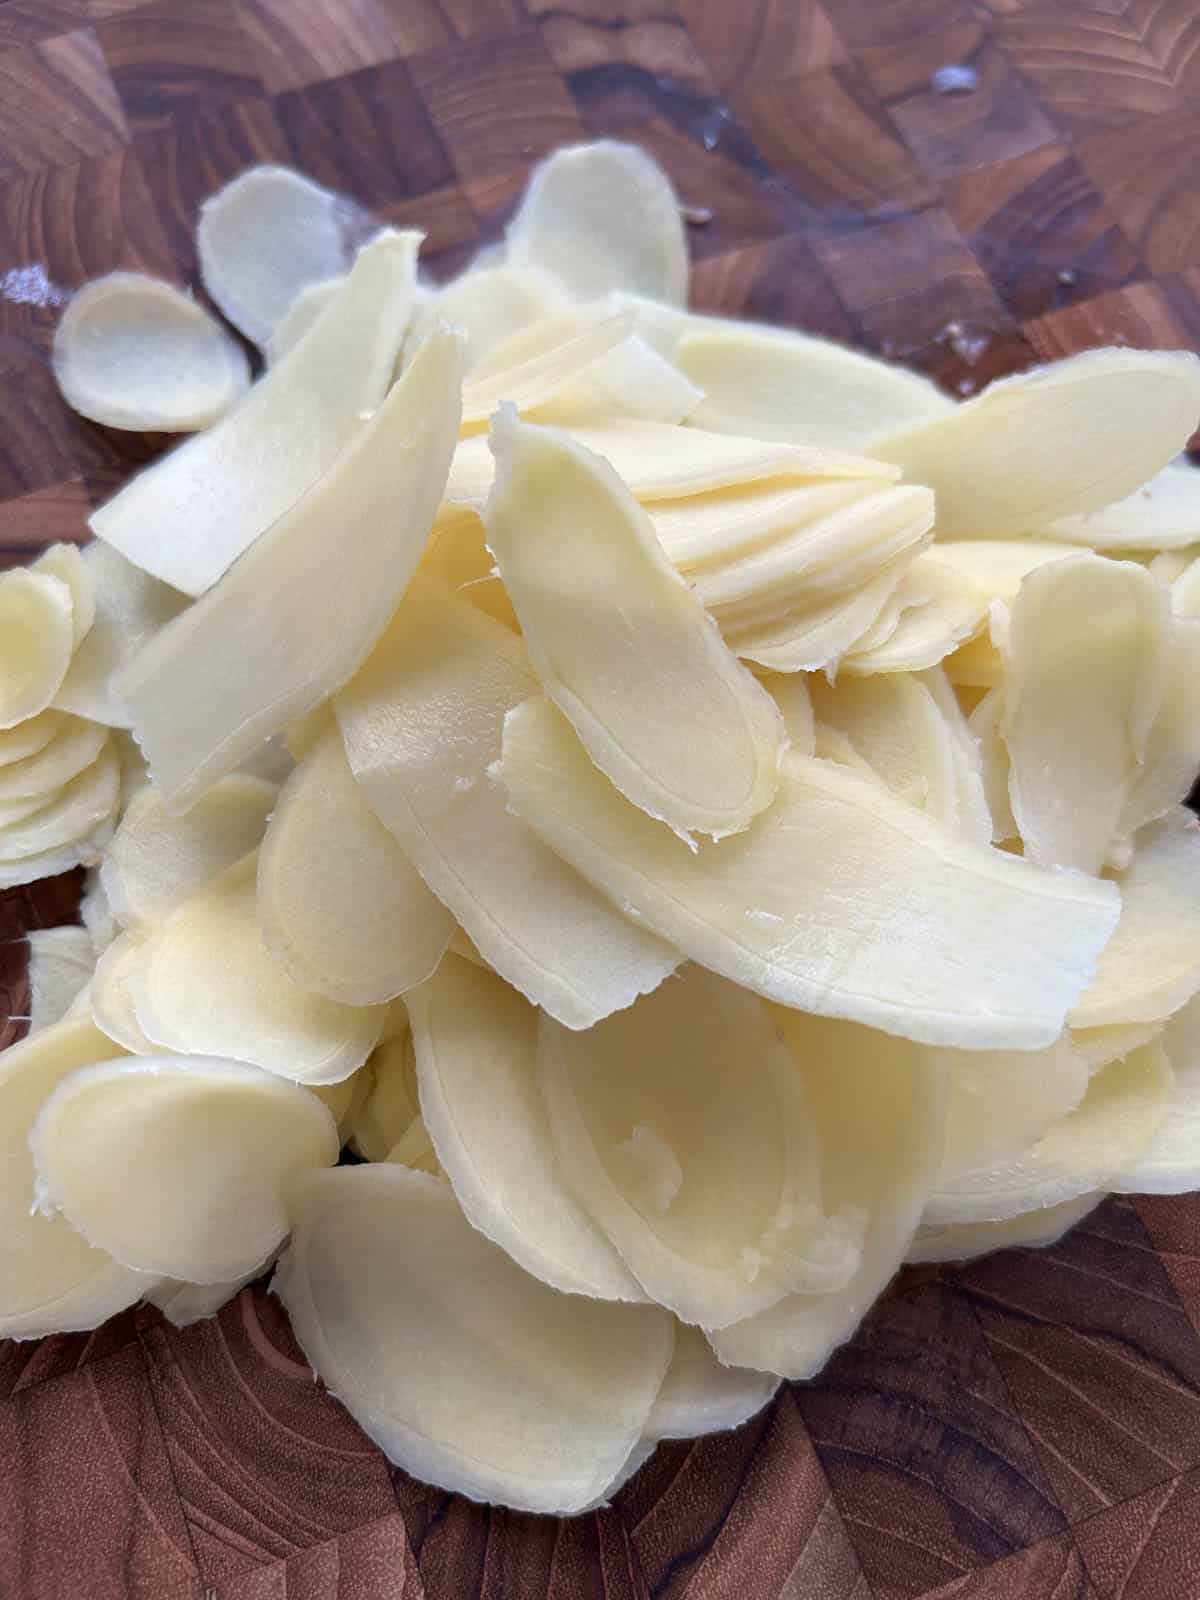
- Step 1: Using a spoon, peel your ginger. Using a mandolin on the thinnest setting, carefully slice your ginger into thin pieces.
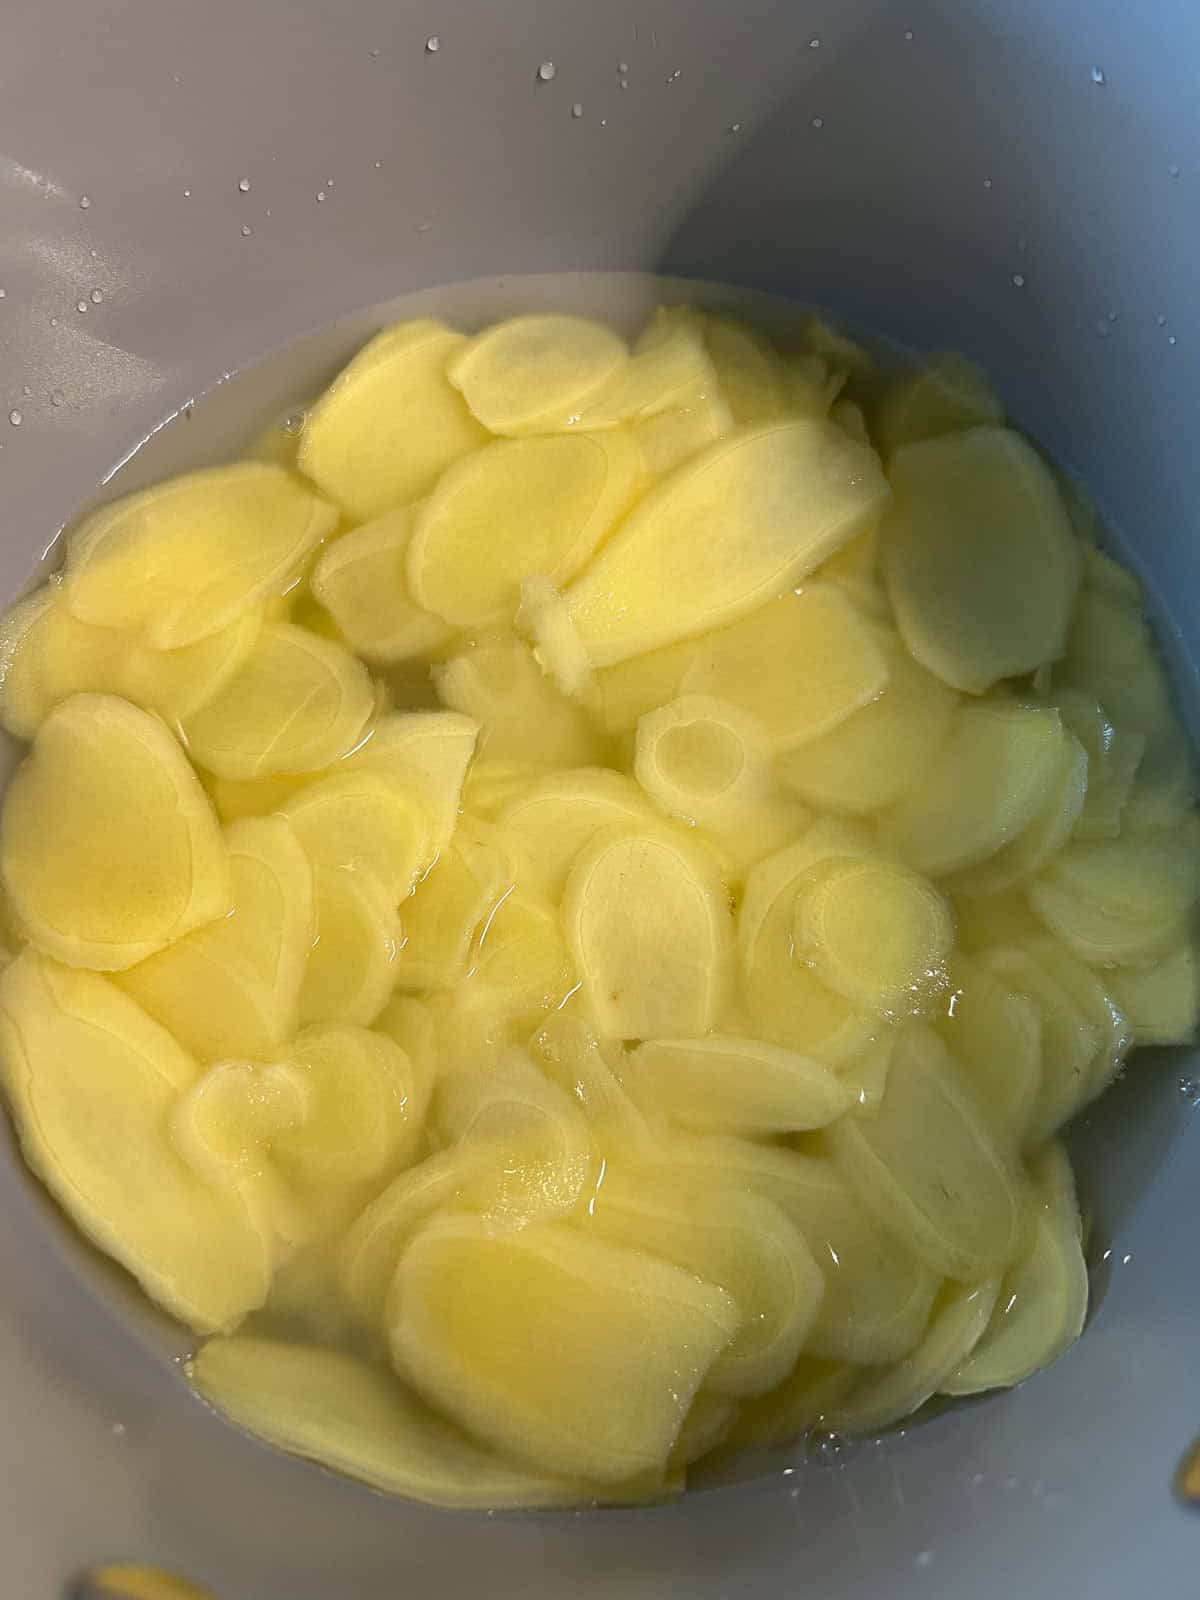
- Step 2: To a pot, add the sliced ginger and enough water to cover. Bring the ginger to a gentle boil and simmer for 3-5 minutes, depending on how spicy you want the ginger to be. The longer it cooks, the more subtle and less harsh the ginger flavor will be.
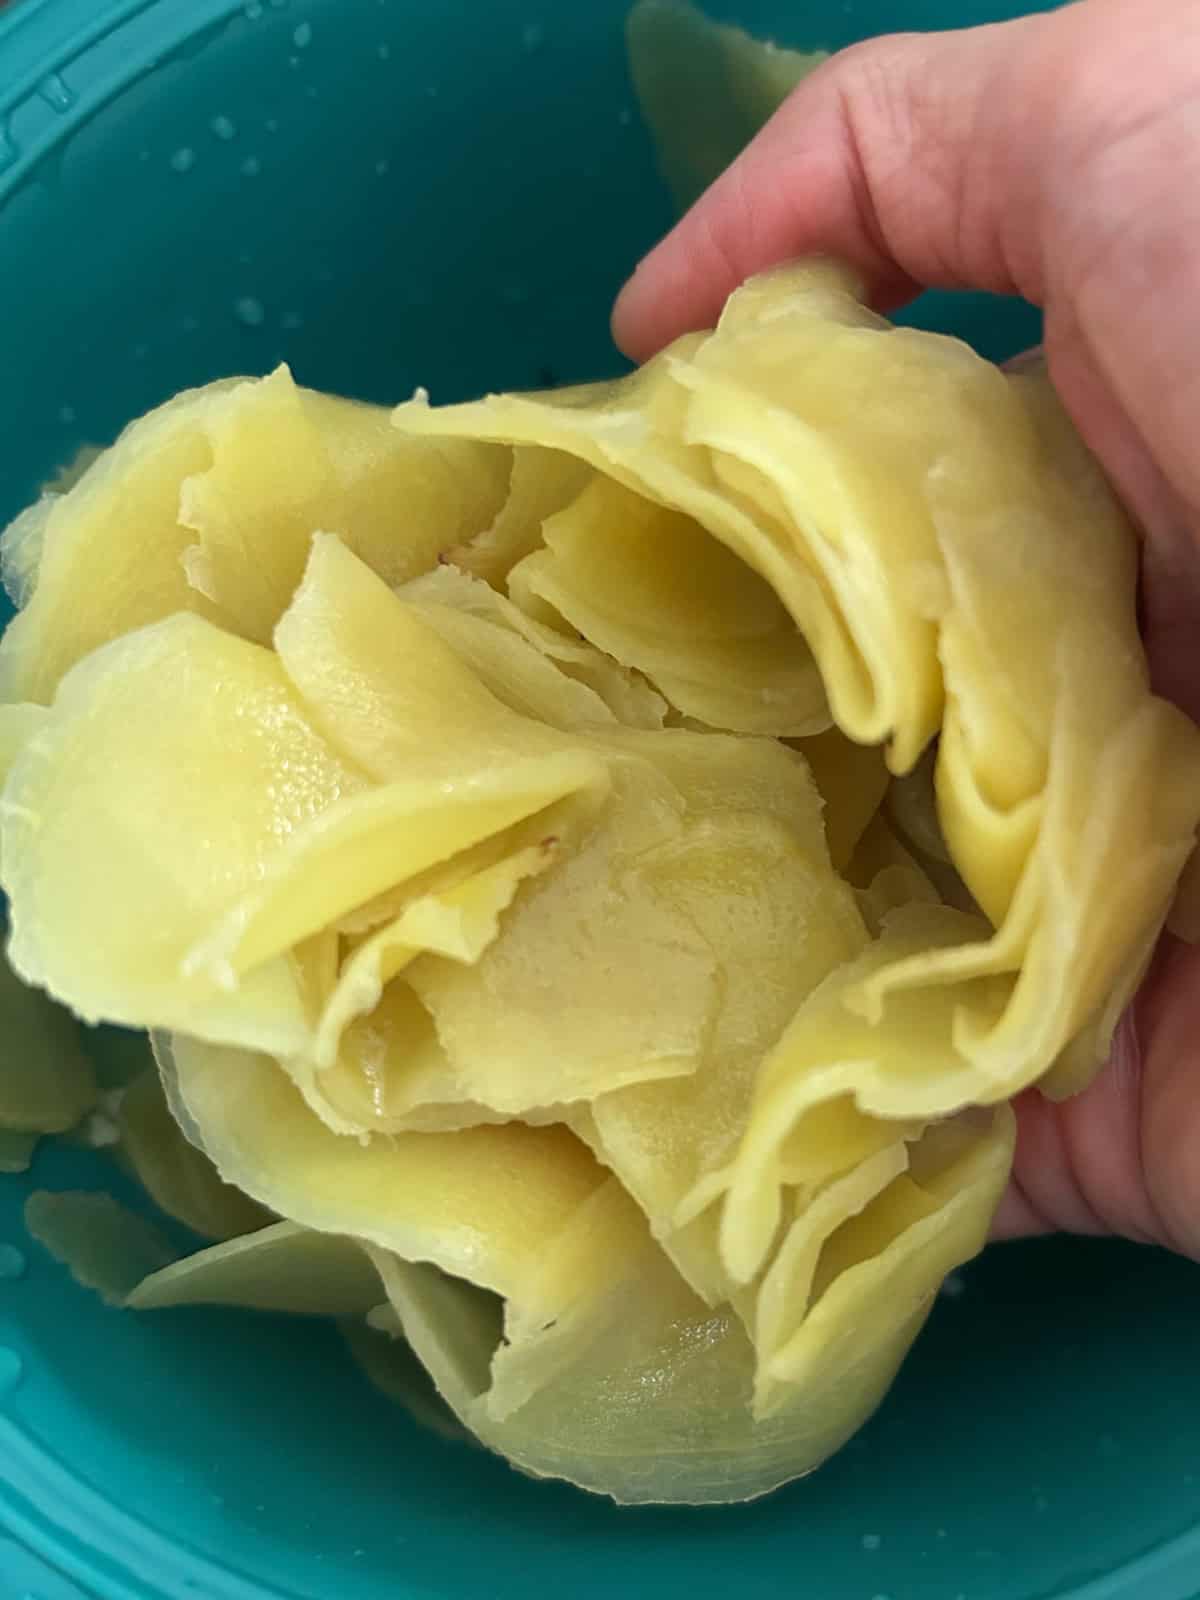
- Step 3: Rinse the ginger in cold water and give it a squeeze to remove any excess water. Add it to a heat safe, sterilized jar.
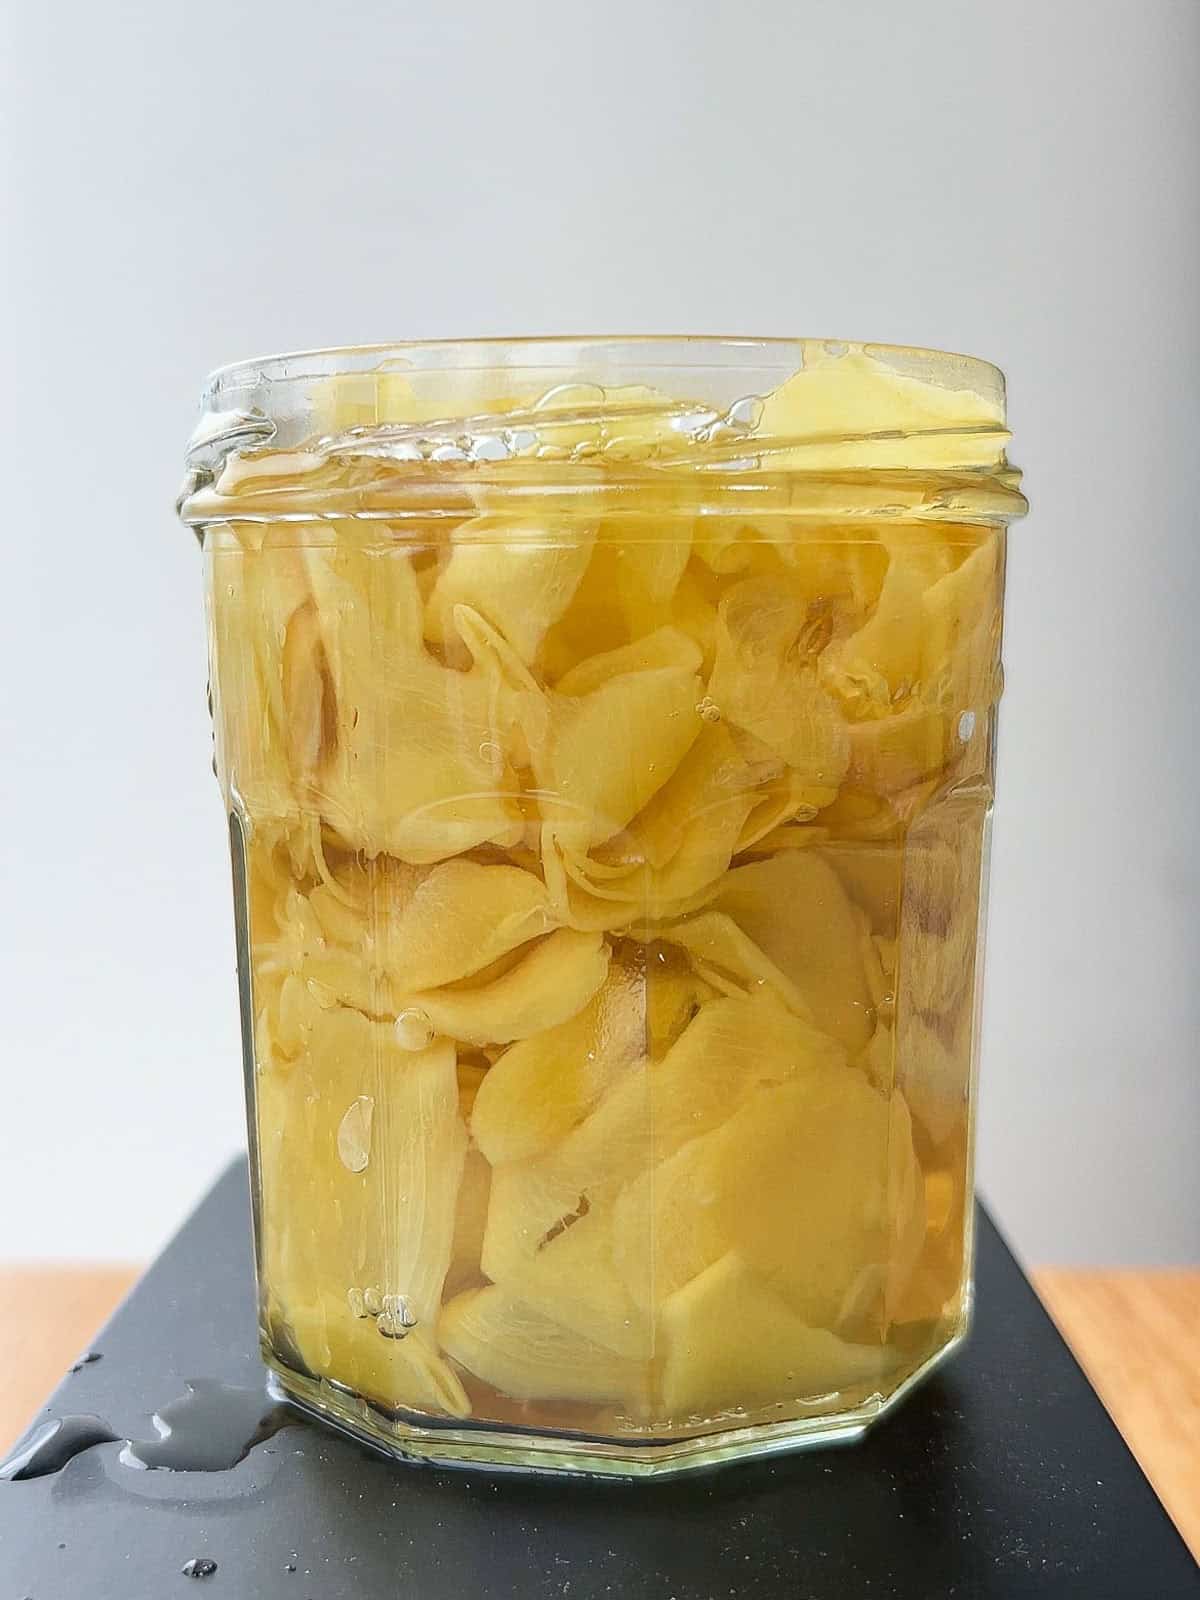
- Step 4: To a pot over medium-low heat, add sugar, salt, white vinegar, and rice vinegar. Stir until the sugar and salt dissolve. Pour the brine over the ginger and allow to cool before placing it in the fridge to pickle.
Tips for the Best Pickled Ginger Using Regular Ginger
- Slice it thinly against the grain — Regular ginger is fibrous, so slicing it thinly against the grain will help to break that up.
- Don't skip cooking the ginger — Regular ginger compared to traditional young ginger is sharp and spicy. Cooking it down will mellow out the heat and make it more tolerable.
- Squeeze out the liquid before pickling — This keeps your brine from getting diluted and makes room for the ginger to take on the brine.
- Let it pickle for a day — Fresh-pickled ginger is harsh, so give it at least overnight to mellow out.
- Drain it well before enjoying!
How to store Pickled Ginger
Store pickled ginger in a sterilized airtight jar in the refrigerator for up to 1 month. However, note that the texture may deteriorate over time and become softer. Always use a clean utensil when serving to keep it fresh longer.
FAQ
Natural pink color comes from pigments in young ginger reacting with the acidic brine. This recipe uses mature, regular ginger so it'll stay more pale yellow but it'll still taste just as good.
Up to a month in the fridge, stored in an airtight jar.
Yes! Pickled ginger and sushi ginger (gari) are the same thing. This is what they serve on the side with sushi.
Regular mature ginger is very harsh. Boiling the ginger will help to reduce the heat and make it more edible.
You can! However, young ginger is more tender and less spicy. Slice it thin as you would regular ginger but you can shorten the simmer time since it's less harsh. Note that it may turn pink in the brine, due to a natural chemical reaction between the anthocyanin pigments found in young ginger.
Transparently, this will not taste exactly like the sushi ginger you get at restaurants. The sushi ginger served at the majority of restaurants are made from preservatives and artificial coloring. So while this will not be an exact dupe, it's a good alternative that's more natural!
I have recipe tested this 7 times. The first few times when I made this recipe (and when I filmed it), I was only using rice vinegar. It occurred to me that the longer the ginger would sit in the brine, the stronger the rice vinegar would be. Then I thought, why don't I try this with regular distilled white vinegar? So I did. I tried it only with white vinegar and then I tried it with both white vinegar and rice vinegar. The ginger in only white vinegar were mild in flavor, but still enjoyable. The ginger in both rice vinegar and white vinegar were my favorite - with a subtle hint of that rice vinegar flavor but without being overpowering. You could use only white vinegar too, if that's all you have, but I think a combination of both makes a difference.
Other Pickles to try:
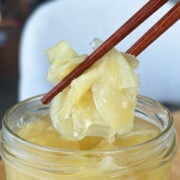
Pickled ginger (gari)
Equipment
Ingredients
- 6 oz ginger
- water to boil ginger
Brine
- ¼ cup rice vinegar
- ¼ cup distilled white vinegar
- ¼ cup water for the brine
- ⅓ cup sugar
- ¼ teaspoon salt
Instructions
- Using a spoon, peel your ginger. Using a mandolin on the thinnest setting, carefully slice your ginger into thin pieces.
- To a pot, add the sliced ginger and enough water to cover. Bring the ginger to a gentle boil and simmer for 3-5 minutes, depending on how spicy you want the ginger to be. The longer it cooks, the more subtle and less harsh the ginger flavor will be.
- Rinse the ginger in cold water and give it a squeeze to remove any excess water. Add it to a heat safe, sterilized jar.
- To a pot over medium-low heat, add sugar, salt, white vingear and rice vinegar. Stir until the sugar and salt dissolve. Pour the brine over the ginger and allow to cool before placing it in the fridge to pickle.
Video
Notes
- Slice it thinly against the grain — Regular ginger is fibrous, so slicing it thinly against the grain will help to break that up.
- Don't skip cooking the ginger — Regular ginger compared to traditional young ginger is sharp and spicy. Cooking it down will mellow out the heat and make it more tolerable.
- Squeeze out the liquid before pickling — This keeps your brine from getting diluted and makes room for the ginger to take on the brine.
- Let it pickle for a day — Fresh-pickled ginger is harsh, so give it at least overnight to mellow out.
- Drain it well before enjoying!
- Storage: Store pickled ginger in a sterilized airtight jar in the refrigerator for up to 1 month. However, note that the texture may deteriorate over time and become softer. Always use a clean utensil when serving to keep it fresh longer.
Made this recipe? Leave a star rating and a comment below. It helps other people find the recipe and shows a real person cooked it.

Leave a Reply